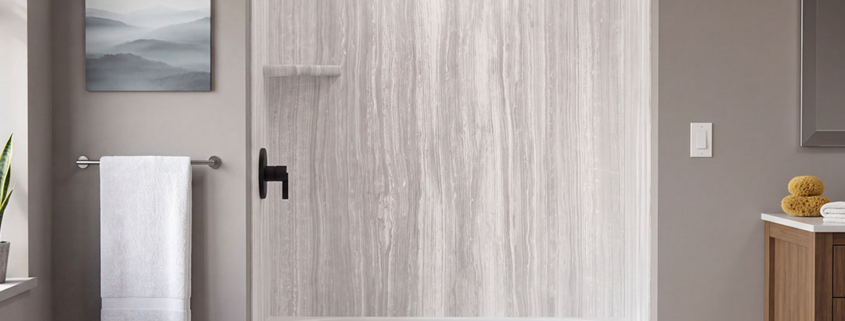
Shower Tub Combo vs. Walk-In Shower: Which Is Right for Your Bathroom?
Keep your shower tub combo, refresh it, or convert to a walk-in shower? Compare cost, DIY difficulty, and resale impact before you remodel.


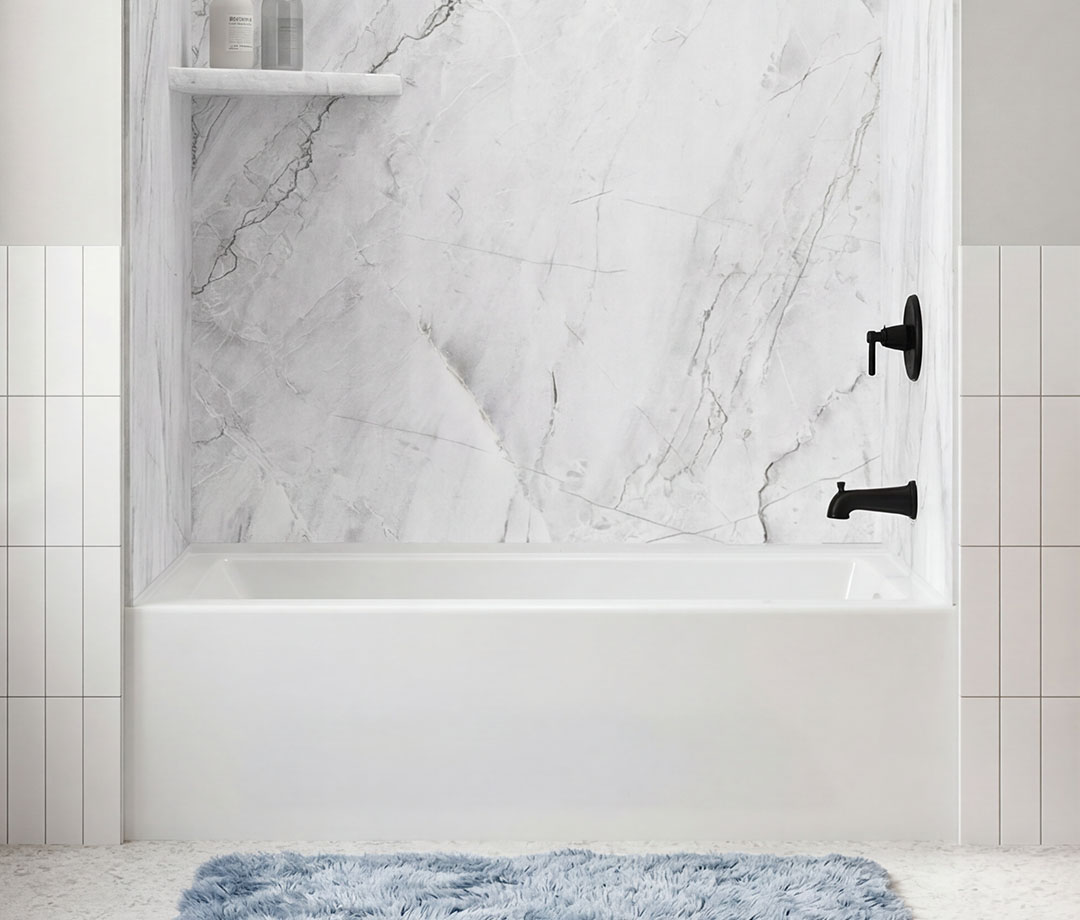
If your bathtub walls are showing their age, with cracked tile, stained grout or a yellowing plastic liner, a new tub surround is one of the most effective upgrades you can make. It changes the look of the whole bathroom and protects the walls behind it from daily splashes and steam.
But the options can feel overwhelming. Kits come in different piece counts, materials range from classic tile to acrylic inserts to engineered stone, and costs vary widely depending on what your project includes. This guide walks you through the basics so you can plan with confidence, compare your choices, and decide whether a DIY installation fits your project.
A tub surround is the set of water-resistant wall panels that covers the walls around a bathtub. In most homes, that means the back wall and two side walls of an alcove tub. When the tub doubles as a shower, the surround usually runs taller, up toward the ceiling, and is often called a tub/shower surround or simply a shower surround.
Traditionally, tub surrounds were built from tile set over backer board. Today, many homeowners choose tub surround panels instead: large sheets that cover each wall in one piece, leaving far fewer seams and no grout to maintain.
Tub surround kits are usually described by how many main pieces cover the walls. The piece count affects how easily the kit gets into your bathroom, how many seams you’ll seal and how the finished walls look.
A one-piece surround is molded as a single unit, often with the tub built in. With no seams on the walls, it’s watertight and simple to clean. The catch is size: a one-piece unit usually won’t fit through a standard bathroom door or hallway, so it’s mostly used in new construction or major remodels where walls are opened up.
A 3-piece kit includes one back wall panel and two side panels. It’s the most popular choice for remodels because each panel fits through a doorway, yet the walls still look clean and continuous. You’ll typically seal two vertical corner seams plus the edges where the panels meet the tub, as well as around faucets and any trims.
For example, the FlexStone Elite 3-Wall Tub Kit includes a 60″ x 60″ back panel, two 32″ x 60″ side panels, trim, a corner shelf, adhesive and color-matched silicone.
A 5-piece kit splits the walls into smaller sections, usually a back panel, two side panels and two corner pieces. Smaller pieces are easier to carry and maneuver in tight spaces, but there are more seams to align and seal. Many 5-piece kits are thinner acrylic or fiberglass designs with molded-in shelves.
| Kit type | Best for | Seams | Fits through a doorway? |
|---|---|---|---|
| One-piece | New construction | None on the walls | Usually not |
| 3-piece | Most remodels | Few | Yes |
| 5-piece | Tight spaces, small hallways | More | Yes |
Most alcove bathtubs are 60″ long and 30″ to 32″ deep, so most kits are built around a 60″ back wall. Height is where your choice matters most:
Before you shop, measure the width of the back wall, the depth of each side wall and the height you need to cover. Walls in older homes are rarely perfectly square, so look for panels you can trim to fit. FlexStone carries a variety of kit sizes to get you exactly what you need.
The material you choose determines how your surround looks, how long it lasts and how much upkeep it needs. Here’s how the most common options compare.
Ceramic and porcelain tile offer endless design choices and a classic look. The trade-off is labor: tile requires a properly waterproofed backer board, careful layout, cutting, setting and grouting. It’s one of the more time-consuming projects for a DIYer and is often outsourced to an experienced tiler to make sure it’s done well. Grout lines also need regular scrubbing and periodic sealing to stay clean. Without proper cleaning, grout lines are notorious for mold and mildew growth, as well as leaks behind the tile.
Acrylic surrounds are lightweight, glossy and budget-friendly. They resist stains better than fiberglass and come in many shapes with molded shelves. Most are solid colors, so they rarely offer the look of stone, and the surface can scratch if you clean it with abrasive products. Acrylic is also known to crack and scratch with use.
Fiberglass is usually the lowest-cost option. It’s easy to find and quick to install, which makes it common in rental units and new builds. It tends to be thinner and less rigid, and over time the finish can dull, scratch or yellow.
Solid surface panels are made from resins and minerals, giving them a smooth, seamless and durable finish. Many look upscale, but the panels are heavier and pricier, and many products are sold primarily through dealers and professional installers rather than as DIY kits.
Composite stone-look panels recreate the appearance of granite, marble and travertine without the weight or cost of natural stone slabs. FlexStone wall panels are a good example. Each design is sampled from real stone slabs, so you see the natural veining and variation you’d expect from stone.
FlexStone is a lightweight composite panel, less than 1 lb. per square foot and 1/4″ thick. Panels cut with a standard utility knife to precisely fit your space, glue directly to drywall, cement board or other backer board, and never need grout. With more than 20 colors to choose from, you can match nearly any style, from warm travertines to crisp white marbles.
| Material | Look | DIY friendliness | Maintenance |
|---|---|---|---|
| Tile | Classic, customizable | Challenging | Grout cleaning and sealing |
| Acrylic | Glossy, mostly solid colors | Moderate | Low; avoid abrasives |
| Fiberglass | Basic | Moderate | Low; finish can dull |
| Solid surface | Smooth, upscale | Often pro-installed | Low |
| Composite stone-look (FlexStone) | Natural stone appearance | Designed for DIY | Low; no grout or sealing |
The price of the wall panels is only part of your budget. A complete tub surround project can include removing the old walls, preparing the backer board, installing the panels and sealing every joint. Here’s what to plan for.
This is usually your biggest material cost. A basic 3-piece acrylic tub surround kit typically runs anywhere from $300 to $1,000. Tile costs vary widely depending on the tile you choose, and you’ll also need thinset, grout, trim and a waterproofing membrane. Composite stone-look tub surround panels generally sit between $600-$1,500, while giving you a natural stone appearance.
If you’re keeping your bathtub, you won’t need a shower pan. If you’re converting a tub to a walk-in shower, you’ll need a shower base sized to your space. FlexStone offers shower bases in common sizes such as 60″ x 30″, 60″ x 32″ and 60″ x 36″, which fit the footprint of a standard tub.
Glue-up panels need construction adhesive to bond them to the wall and 100% silicone to seal seams, corners and the joint along the tub. Tubes typically cost about $6 to $12 each, and most projects use several. Some kits include them: every FlexStone wall kit comes with adhesive and color-matched silicone, so your finished seams blend in with the panels.
If your existing walls are damaged or you’re down to the studs, you’ll need new backer board. A 3′ x 5′ sheet of cement backer board generally costs about $10 to $25, and a standard tub alcove usually needs a few sheets. Many panel systems, including FlexStone, can also be installed over sound drywall or existing tile, which can reduce both cost and prep time. Always check local building codes for your application.
Demolition and Disposal
Removing old tile is messy and time-consuming. Removing an old acrylic or fiberglass surround is often quicker. DIYers mainly spend time and a disposal fee. If you hire it out, ask for demo and haul-away as a separate line item.
Professional installation of a bathtub surround is often estimated anywhere from $3,000 to $6,000 before premium tile or custom finishes. Doing it yourself with a DIY-friendly kit can put much of that toward the materials and design you really want.
Tub Surround Installation and Maintenance
Installing a tub surround yourself is a realistic weekend project for many homeowners, as long as you plan ahead, measure carefully and follow the instructions. A glue-up panel system like FlexStone skips the tile setting and grouting, and many projects can be completed in as little as one day once the walls are prepped.
For a FlexStone installation, the basic tools are a tape measure, utility knife, caulk gun, pencil and clamp. A drill with paddle bits, painter’s tape, a clean cloth and denatured alcohol are also helpful. The adhesive and color-matched silicone come in the kit.
For a closer look at each step, watch the FlexStone installation videos or download the installation guide for your kit.
One of the biggest advantages of a panel system is how easy it is to maintain. With no grout lines, there’s nowhere for grime to build up. FlexStone’s non-porous surface resists mold and mildew.
The right tub surround balances the look you want with a project you can confidently complete. If you’d like the authentic appearance of natural stone without heavy slabs, grout lines or a long tile job, FlexStone tub surround panels give you a practical path to a bathroom you’ll be proud to show off.
Keep your shower tub combo, refresh it, or convert to a walk-in shower? Compare cost, DIY difficulty, and resale impact before you remodel.
Planning a bathroom remodel? Compare tub surround and shower surround materials, sizes and costs, plus tips for a confident DIY install.
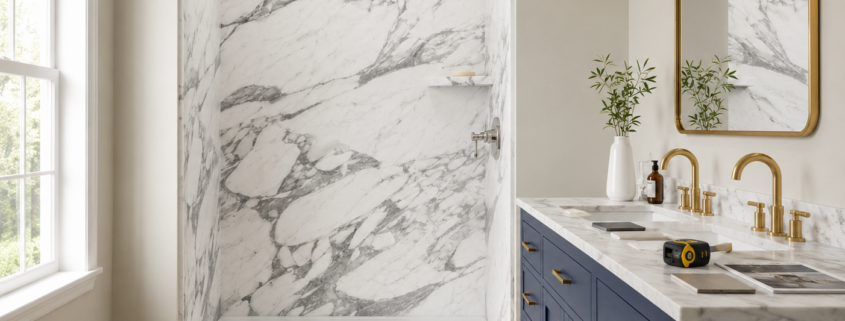
Learn how to choose a shower/tub kit that fits your space and lasts. Compare shower stall kits and walk-in shower kits before you buy.
Visit the FlexStone Support Center for step-by-step care instructions and tips to keep your tub surround looking fresh for years.



 Shower Tub Combo vs. Walk-In Shower: Which Is Right for Your Bathroom?